
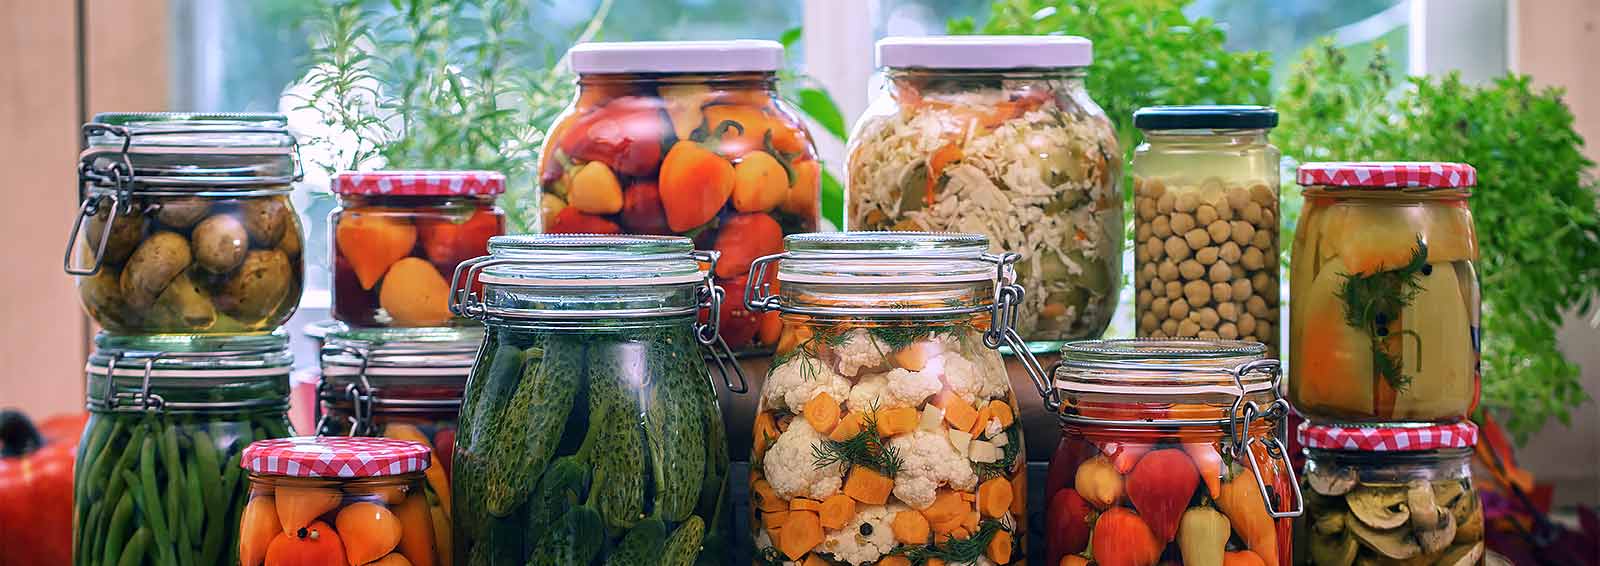
Canning: An Old-Fashioned Skill Perfect for Modern Life
Whether you grow your own produce or buy it at a farmers market, canning is a great way to keep enjoying it for months to come.
By Beth Kaszuba
Canning summer’s harvest might seem like an antiquated, complicated activity that only your great-grandmother could master.
But canning and freezing fruits and vegetables is actually fairly easy, and a cost-effective, healthy way to enjoy the best of summer’s produce in the worst of winter’s weather.
Best of all? You don’t have to grow a bumper crop to preserve food.
“You can buy fresh fruits and vegetables in bulk at farmers markets,” says Emily Newhard, RDN, a dietitian with Geisinger Wyoming Valley Medical Center in Wilkes-Barre. “And you can preserve some foods in water or their natural juices, so it’s very nutritious.”
While some home canners use a pressure-canning process, most use a simpler and inexpensive water-bath method that requires very little special equipment.
Novice canners will want to begin by preserving acidic foods, Ms. Newhard notes. That’s because acid is a natural preservative.
Good options include:
- Tomatoes
- Apples
- Pickles
“You can make tomato sauce or can whole tomatoes,” Ms. Newhard adds, explaining that she likes to can apples as applesauce. “I don’t add sugar. Canning is kind of a blank slate that lets you control some additives like salt and sugar.”
The basic process
While canning might seem tricky, the procedure involves just a few simple steps, from preparing a recipe to cleaning all the jars and equipment, then boiling the sealed jars for prescribed lengths of time.
The heat both kills microorganisms that would cause spoilage and helps drive oxygen out of the jars, creating a vacuum seal.
“It’s totally safe as long as you clean diligently and know what you’re doing,” Ms. Newhard says. “If you’re new to the process, look for a good resource to learn the basics.”
Ms. Newhard recommends turning to the Penn State Extension — extension.psu.edu — for reliable information, including webinars on food preservation. “The information is out there,” she adds. “If you have a reliable source, it’s easier to get started than you think. It’s very rewarding, too — and canned goods make great gifts. Everybody’s always happy to get home-canned goods.”
Next steps:
Make an appointment with Emily Newhard, RDN
Try these healthy recipes
Learn how eating healthy feeds your immune system
“Canning is kind of a blank slate that lets you control some additives like salt and sugar.”
Dip Your Toe in Water-Bath Canning
Canning is a safe way to preserve food. Just remember that recipes may require different amounts of time in the water bath. Be sure to use trusted sources and follow instructions carefully.
But here’s the basic process you’ll follow.
- Fill your canning pot with enough water to immerse the empty jars you’ll use and boil them for 10 minutes on the canning rack. Use your jar lifter to remove them and let them dry on a clean towel.
- Fill a small saucepan with water and simmer the lids — not the bands — while preparing your jars and recipe.
- Fill the larger canning pot about halfway with water and bring to a simmer.
- Ladle your prepared recipe into your clean jars, being careful not to get any food on the rims. (The funnel is helpful.) Wipe the rims with a damp paper towel if they get dirty.
- Using the magnetic tool, lift a lid from the saucepan and center it over the jar. Screw on a ring until it’s just tight. Repeat until all jars are filled.
- Place all jars on the rack and lower everything into simmering water. Boil for the recommended amount of time.
- Use a jar lifter to remove each jar, one by one, and place them on the counter.
- Allow jars to cool for 12 hours before moving. You’ll hear the lids “pop” as they cool and seal.
- Check lids by pushing on the center. If the center isn’t slightly depressed, the seal didn’t work. Refrigerate and use those jars within a few days.
- Label properly sealed jars and keep them for up to 18 months in a cool, dark, dry space.

What do you need to get started?
- Pot designed for canning, with removable rack
- Funnel
- Jar lifter
- Magnetic wand to lift lids from boiling water
- Jars
- Lids that have never been used before